If your network is growing—whether at home or in the office—it might be time to install or upgrade your network switch. Switches are the backbone of any local area network (LAN), enabling devices to communicate efficiently. But how do you know when it’s time for an upgrade, and what’s the right way to install a switch?
At TechGN, tech should be simple. This detailed guide will walk you through the process of installing and upgrading a network switch, including the necessary tools, common mistakes to avoid, and how to future-proof your setup.
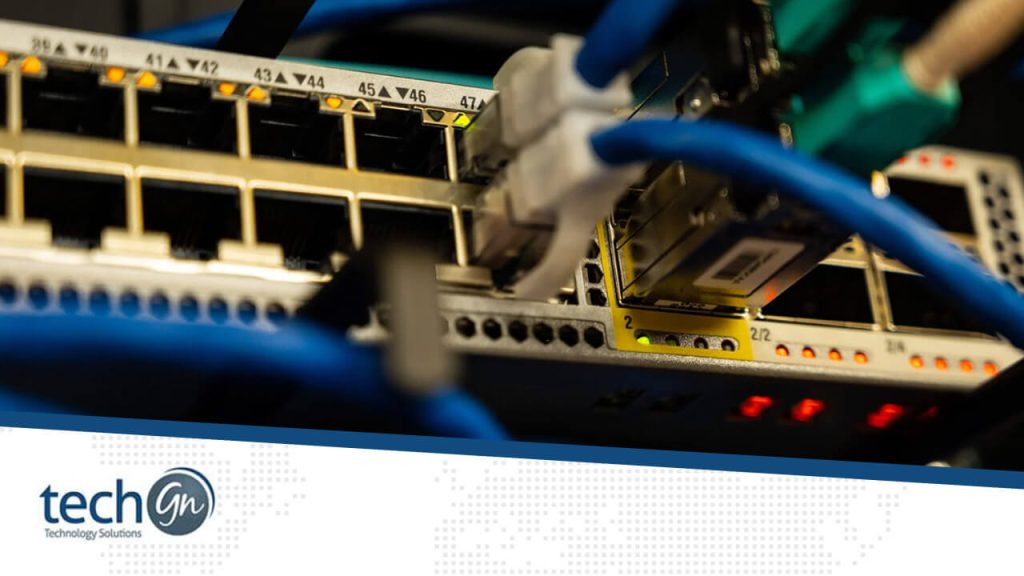
What Is a Network Switch?
A network switch is a hardware device that connects devices, such as computers, printers, and servers, within a local area network (LAN). Unlike a hub, which sends data to all devices, a switch intelligently forwards data only to the device that needs it, boosting speed and performance.
Switches are essential for:
- Expanding your wired network
- Improving internal communication
- Supporting high-bandwidth applications
- Managing business-grade networks
Common Types of Switches:
- Unmanaged Switch – Plug-and-play; no configuration required
- Managed Switch – Offers settings like VLANs, quality of service, and monitoring
- PoE Switch – Provides Power over Ethernet for cameras and VoIP phones.
Why You Might Need to Install or Upgrade a Switch
Signs You Need a New or Upgraded Switch:
- You’ve run out of Ethernet ports
- Your internet is slow due to outdated hardware.
- You’re adding more smart devices or workstations.s
- You’re upgrading to gigabit or 10G speeds.
- You want to separate network traffic using VLANs
- You need better security and traffic control.
Whether you’re expanding your home lab, supporting remote work, or upgrading an office infrastructure, a switch upgrade can significantly improve your network reliability and performance.
What You’ll Need for Installation
Before starting your switch installation or upgrade, gather the following tools and equipment:
- Network switch (unmanaged or managed)
- Ethernet cables (Cat5e, Cat6, or Cat6a)
- Router or modem (for internet access)
- Existing devices like PCs, printers, or NAS
- Optional: patch panel, cable labels, rack mount, or shelf
For managed switches:
- Laptop or PC for configuration
- Web browser or terminal (for CLI setup)
- IP address and subnet knowledge
Step-by-Step: How to Install a Network Switch
Step 1: Power Off Your Devices
Before connecting or upgrading hardware, power down your router, switch, and any devices to avoid signal surges or misconfiguration.
Step 2: Position the Switch
Choose a central, well-ventilated location. If rack-mountable, place it in a server rack. For smaller setups, a shelf or desk will do.
Step 3: Connect the Switch to the Router
- Use an Ethernet cable to connect the switch’s uplink port to one of the LAN ports on your router.
- This bridges the switch with the internet connection from your modem.
Step 4: Connect Your Devices
- Plug Ethernet cables from each device (PCs, printers, cameras) into the switch’s remaining ports.
- Use cable labels or color coding for easy identification.
Step 5: Power On the Switch and Devices
- Turn on the switch first, then your router and other devices.
- Most unmanaged switches are plug-and-play, so no configuration is required.
Configuring a Managed Switch (Optional)
If you’re using a managed switch, here’s how to configure it:
Access the Switch Interface:
- Connect your PC to the switch using an Ethernet cable.
- Assign a static IP address to your PC in the same subnet as the switch’s default IP address.
- Open a browser and enter the switch’s IP address (e.g., 192.168.0.1).
Common Configuration Tasks:
- Set a new admin username/password
- Enable VLANs to segment traffic.
- Activate quality of service to prioritize traffic (VoIP, streaming, etc.)
- Monitor bandwidth using SNMP or the switch dashboard.
- Apply firmware updates for performance and security.
TechGN Tip: Always save a backup of your switch configuration before making significant changes.
Upgrading a Network Switch: What to Know
Key Reasons to Upgrade:
- Outdated 10/100 Mbps switch → Upgrade to Gigabit (1000 Mbps)
- Insufficient ports → Go from 5/8-port to 16/24/48-port models.
- Need for PoE support → Use PoE+ switches for powering devices.
- Increased network load → Upgrade to Layer 3 managed switches
Upgrade Process:
- Take note of current device connections
- Label all cables for easy reconnection.
- Disconnect the old switch and power it down.
- Install and configure the new switch.
- Test network connections before resuming full use
Testing Your New Switch
After installation or upgrade, test the following:
- Internet access from connected devices
- Internal file transfers (check LAN speed using tools like iPerf)
- IP addressing (ensure devices receive correct IPs via DHCP)
- Ping tests to check latency and packet loss
Port activity lights to confirm live connections
Common Issues and Troubleshooting
| Issue | Solution |
|---|---|
| Devices not connecting | Check cables and ensure DHCP is enabled on router |
| Slow network speed | Verify switch supports gigabit, check for old Cat5 cables |
| Can’t access managed switch UI | Ensure you’re on the same subnet, disable firewall temporarily |
| Power issues | Use a UPS or surge protector for stability |
| PoE device not powering | Confirm switch has PoE+ support and meets wattage requirements |
Best Practices for Switch Installation and Management
- Always label your cables and ports
- Use quality Ethernet cables (Cat6 or higher)
- Keep firmware updated on managed switches.
- Separate traffic using VLANs for security
- Mount switches in a rack or shelf to ensure optimal airflow.
- Backup switch configs before changes
Recommended Switch Brands
Seeking a dependable switch for your upgrade?
Here are a few trusted brands:
- TP-Link – Affordable, great for home or small office
- Netgear – Offers innovative and unmanaged options.
- Cisco – Enterprise-grade, ideal for advanced setups
- Ubiquiti UniFi – Popular in professional home networks
D-Link – Solid performer with good support
Whether you’re building a new network or expanding an existing one, knowing how to install and upgrade a network switch is a critical skill. A well-installed switch can enhance your internet speed, security, and device connectivity, making life easier for both home users and IT professionals.
At TechGN, our mission is to help you stay connected, informed, and empowered by technology. If you’re unsure which switch is right for your setup, we’re here to help.
Need help choosing or configuring your switch?
Contact TechGN — our experts are ready to guide you step by step.
Reviews
Tailoring Solutions